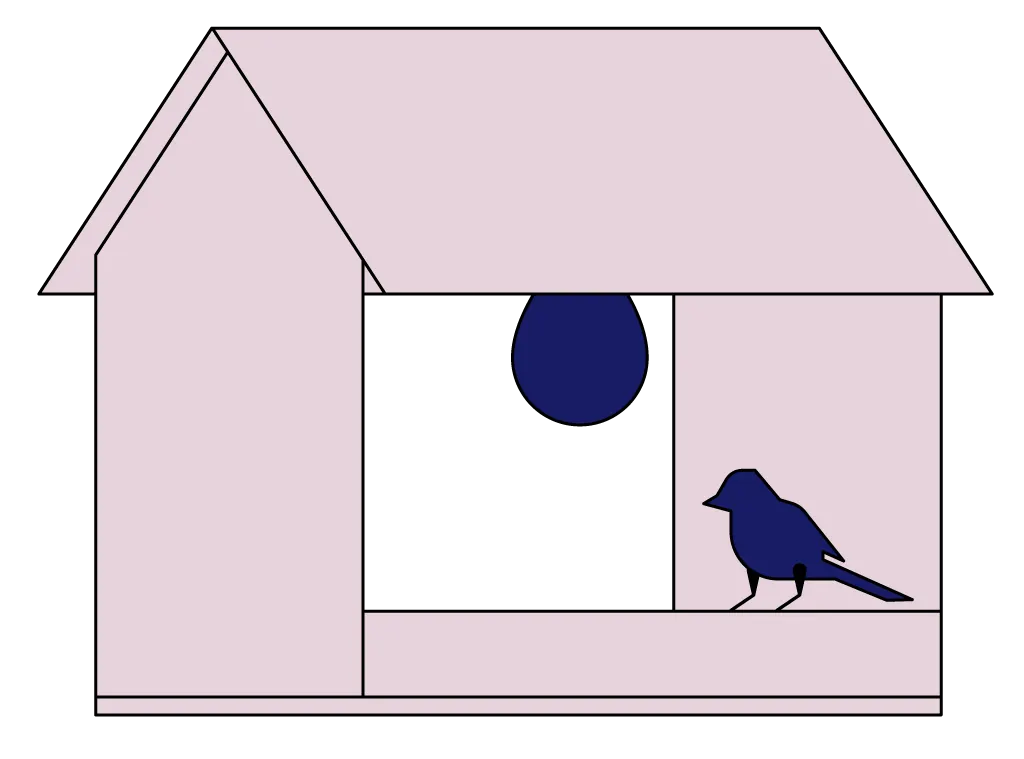
How to build a birdfeeder.
This is a DIY-Guide How to build a birdfeeder.
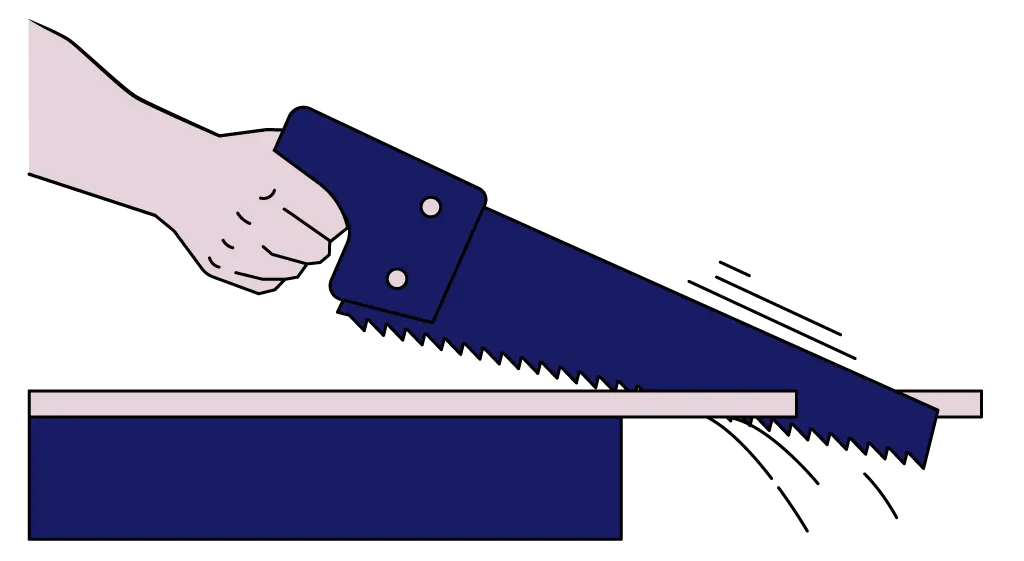
The saw must not slip away, so it is important to keep it straight and tight - not with the wrist bent. An ergonomic handle contributes to this. The workpiece should be clamped as far as possible.
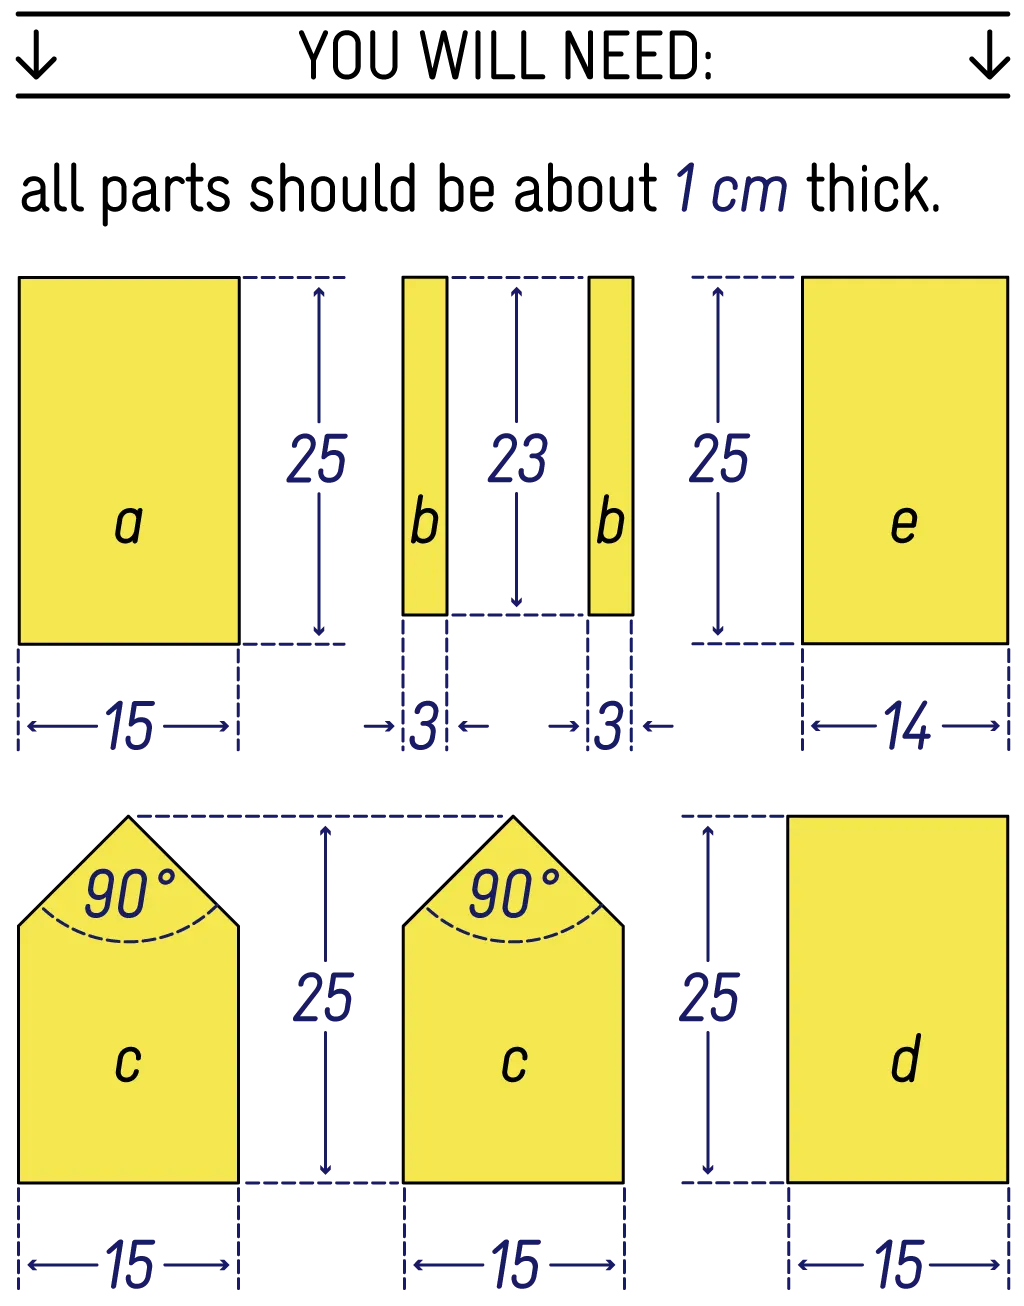
The bird feeder consists of seven individual parts. a-base; b-two equal side strips; c-two equal side walls; d-a larger roof wing; e-a smaller roof wing.
Wood glue provides a better hold.

Now the glued side strips can be nailed and glue for the side walls can be applied.

The side walls are also nailed to the base. Now apply wood glue for the smaller roof wing…
and nail this one to the ground. Now the larger roof wing can be glued.
Now this one can be nailed up.

INSTALLING
It is important to place the feeding place in such a way that the cats do not get to it so easily. A pillar or a stick is the first of two possibilities.
INSTALLING
It is important to place the feeding place in such a way that the cats do not get to it so easily.
To attach the birdfeeder to a tree branch is the second possibility.

By the way, titmice prefer to pick the food from below, therefore it is recommended not only to distribute the food on the bottom of the feeding place, but also to hang it under the roof.